What to Expect During AC Replacement: Your Quick-Start Overview
What to expect during AC replacement is something every homeowner in Des Moines, Iowa deserves to understand before installation day arrives — especially when Iowa summers can push indoor temperatures to uncomfortable extremes fast.
Here is a quick look at what the process typically involves:
- Initial walkthrough – The crew reviews the job site, protects floors, and confirms the plan with you
- Old system removal – Refrigerant is recovered safely per EPA regulations, then the old equipment is disconnected and removed
- Site preparation – Line sets, drain lines, electrical connections, and the mounting pad are inspected or upgraded
- New system installation – The indoor evaporator coil and outdoor condenser unit are installed, connected, and wired
- Testing and commissioning – Technicians perform pressure tests, vacuum evacuation, refrigerant charging, and airflow measurements
- Final walkthrough – You receive a rundown of your new system, warranty paperwork, and maintenance tips
For most homes, the full process takes 4 to 8 hours. Installations involving ductwork modifications or electrical upgrades may extend to one to two days.
Replacing your AC system is one of the bigger home investments you will make. HVAC systems typically last 10 to 17 years, so when it is time, understanding the process helps you plan ahead, avoid surprises, and make sure the job is done right. This guide walks you through every stage — from the morning the crew arrives to the moment the system is blowing cold air and the paperwork is signed.

What to Expect During AC Replacement: A Timeline for Homeowners

When our team pulls into your driveway in Ankeny or Waukee, we know you’re looking forward to that first blast of cold air. However, a quality installation isn’t a race; it’s a precise technical process. For a standard residential split system, the typical duration is between 4 and 8 hours. If you are only replacing the air conditioner and not the furnace, we can usually have you back in comfort by mid-afternoon.
Several factors can influence this window. If your home in West Des Moines requires ductwork modifications or if we are performing a full HVAC replacement (furnace and AC), the timeline can extend to 8–14 hours or even two full days. Older homes in historic areas may also present unique challenges with tight crawlspaces or outdated electrical panels that require extra care.
Before we even arrive, you’ve likely noticed the Signs You Need AC Replacement, such as inconsistent cooling or rising energy bills. Once the work begins, please keep in mind that you will be without cooling for the duration of the job. In the heat of May 2026, we recommend closing your blinds early in the morning to trap as much cool air as possible before we disconnect the old unit.
Preparing Your Home for Installation Day
A little bit of preparation goes a long way in ensuring a smooth day. We want to be as non-intrusive as possible, but we do need a clear path to work. Start by clearing a path from the entrance of your home to the indoor unit (usually in the basement or a utility closet).
If you live in a busy household, we recommend following our AC Replacement in Ankeny IA: A Homeowner’s Survival Guide to manage the day. This includes:
- Pet Safety: The noise of vacuum pumps and drills can be stressful for pets. It’s best to keep them in a secure room or at a neighbor’s house, especially since doors will be opening and closing frequently.
- Access Points: Ensure we have easy access to your electrical panel. We will need to turn off breakers to safely work on the system.
- Clearing the Outdoor Area: Trim any shrubs or tall grass around the outdoor condenser unit. We need at least two to three feet of clearance to maneuver the old unit out and the new one in.
What to expect during ac replacement preparation
Protecting your home is our top priority. When we arrive, we don’t just start hauling equipment. We lay down drop cloths and floor protection to keep your carpets and hardwoods clean from construction dust or debris. If you have breakable items or valuable furniture near the work area, moving them the night before is a great idea.
For homeowners in Carlisle, our The Ultimate Guide to Central Air Replacement and Local Contractors in Carlisle IA emphasizes that clear communication about attic or crawlspace access helps us hit the ground running the moment we arrive.
The Technical Steps of System Installation
Once the site is prepped, the technical work begins. This is where professional expertise really matters. We don’t just “swap boxes”; we ensure the entire ecosystem of your home’s cooling is sound.
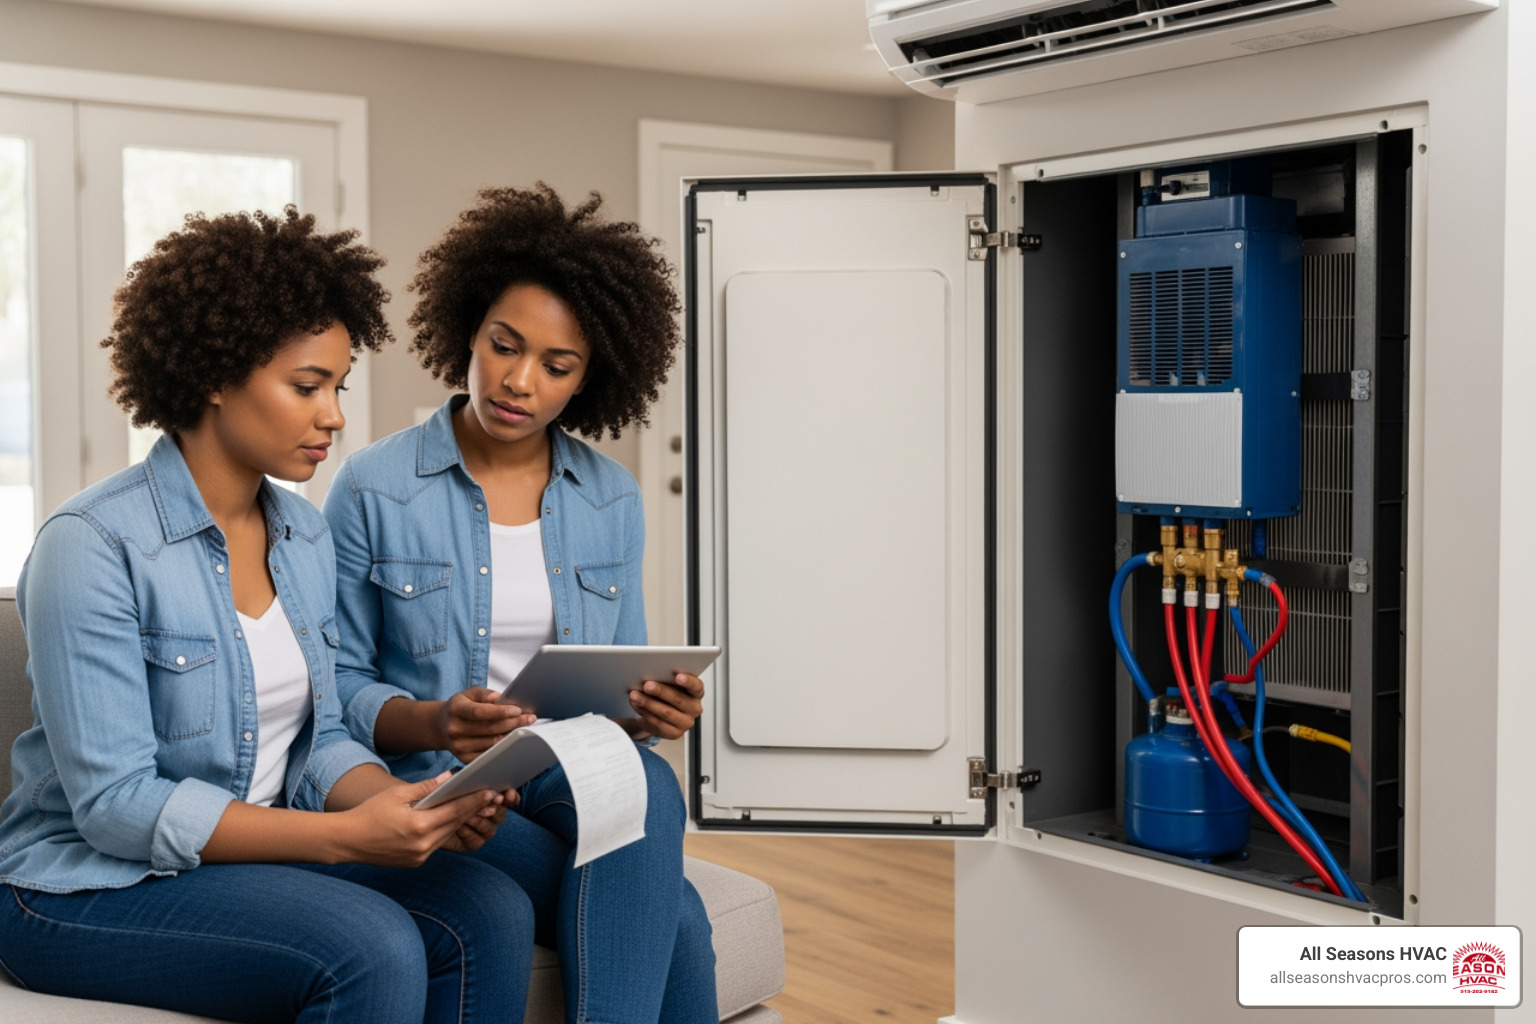
The first major step is refrigerant recovery. It is illegal and environmentally damaging to simply vent old refrigerant into the air. We use specialized recovery machines to safely extract the old coolant according to EPA 608 regulations. This is a non-negotiable step for any reputable contractor. Following this, we disconnect the electrical and drain lines, allowing us to remove the old, heavy units.
Removing the old unit and site preparation
Once the old unit is out of the way, we don’t just drop the new one in its place. We perform a thorough site evaluation. This includes:
- Inspecting the Line Set: The copper lines that carry refrigerant between the indoor and outdoor units must be checked for integrity. While we often install new line sets, if they are being reused, they must be flushed and cleaned to prevent contamination.
- Electrical Disconnects: We often upgrade the outdoor electrical disconnect box and whip to ensure your new system meets current safety codes.
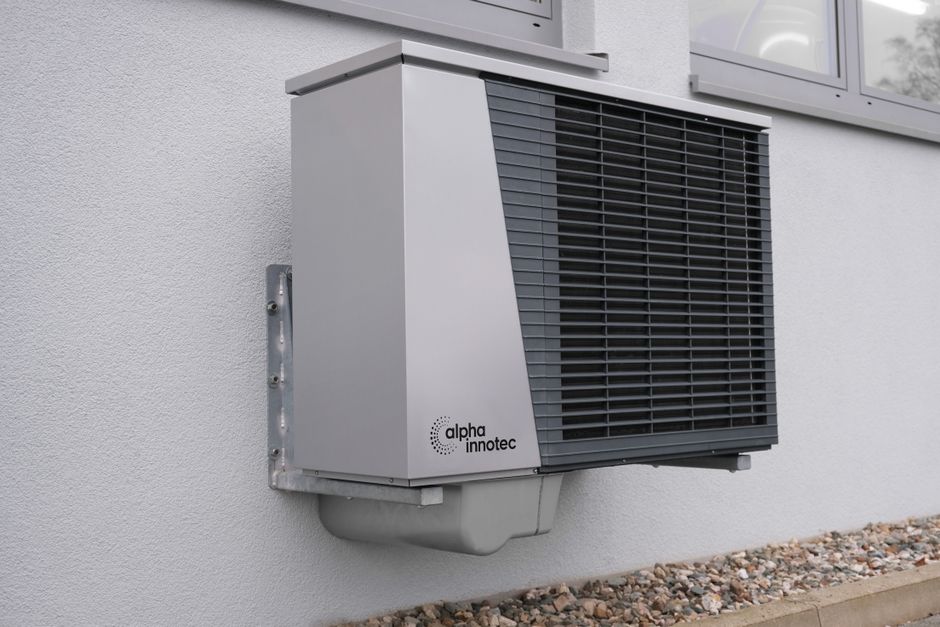
- Leveling the Pad: Over time, the ground under your outdoor unit can shift. We level the mounting pad or install a new one to prevent vibration and ensure proper oil return to the compressor.
Understanding Central Air Replacement Dallas Center IA: Why Your Old Unit Is Toast can help you appreciate why these site upgrades are necessary to protect your new investment.
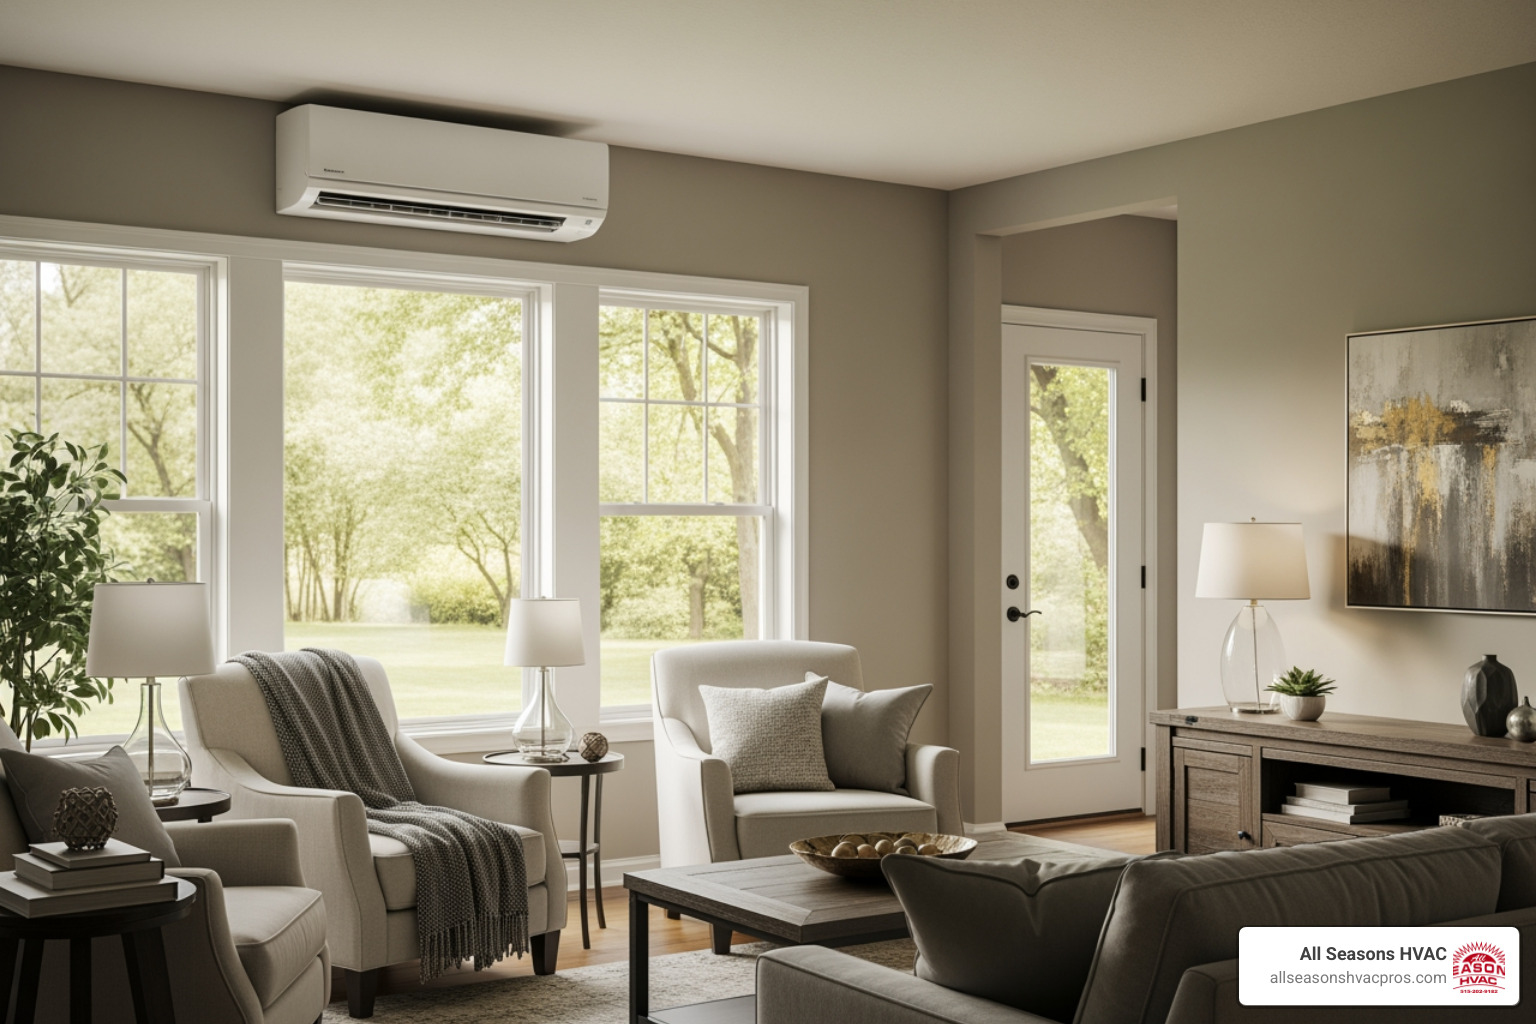
Installing the new cooling system
Now comes the main event: installing the new hardware. The indoor evaporator coil is mounted to your furnace or air handler, and the outdoor condenser is placed on its pad. We then connect the refrigerant lines using a process called brazing, which creates a permanent, high-pressure seal.
For those in Granger, our guide on The Cold Hard Truth About AC Replacement in Granger IA explains that this is also the time when we install your new thermostat. Modern variable-speed systems often require “communicating” thermostats to unlock their full efficiency potential. We also seal all ductwork connections with mastic or foil tape to ensure no cold air escapes into your basement or attic.
Testing, Commissioning, and Quality Verification
The most critical part of what to expect during AC replacement actually happens after the units are physically in place. This is the “testing and commissioning” phase. A system that isn’t commissioned correctly may run, but it won’t be efficient and will likely fail prematurely.
We start with a nitrogen pressure test. We pump the system full of dry nitrogen to about 300-400 PSI and monitor it for leaks. If the pressure holds, we know our seals are perfect. Next, we use a vacuum pump to remove all air and moisture from the lines. This is vital because moisture inside a refrigerant system creates acid that can eat through your compressor from the inside out.
What to expect during ac replacement testing
Once the system is “dry and tight,” we charge it with the exact amount of refrigerant required by the manufacturer. Our technicians then perform a series of measurements, including:
- Temperature Split: We measure the air temperature going into the return and coming out of the vents. A healthy system usually shows a 15–20°F difference.
- Static Pressure: This measures how hard your blower motor has to work to push air through your ducts.
- Superheat and Subcooling: These technical measurements tell us exactly how the refrigerant is behaving, ensuring the system is neither overcharged nor undercharged.
For a deeper look at these technical standards, check out our AC Installation Des Moines IA Guide.
Final walkthrough and red flags
Before we pack up our tools, we perform a final walkthrough with you. We want to make sure you are 100% comfortable with your new system. We will show you how to operate your new thermostat, explain how to change your filters, and provide you with all the necessary warranty documentation.
Homeowners in De Soto can find more details in our De Soto AC Replacement Guide for Homeowners Who Hate the Heat. During the walkthrough, keep an eye out for these “green flags” of a job well done:
- The outdoor unit is perfectly level.
- All wiring is neatly tucked into conduit.
- The area around the indoor unit is cleaner than we found it.
- The system operates quietly without rattling or buzzing.
If you ever see exposed wires, vibrating pipes, or water leaking from the drain line, those are red flags that the installation wasn’t handled with the care it deserves. Choosing a professional service, as outlined in Choosing the Right AC Installation Service, is the best way to avoid these headaches.
Conclusion
Replacing your air conditioner is a major milestone for your home’s comfort and value. Whether you are in Johnston, Mitchellville, or right here in Des Moines, knowing what to expect during AC replacement empowers you to make the best decisions for your family.
At All Seasons HVAC LLC, we pride ourselves on a transparent, professional process that treats your home with respect. We don’t just install equipment; we provide long-term peace of mind. To keep your new system running at peak efficiency for the next 15 years, we recommend scheduling annual maintenance every spring.
If you’re ready to upgrade to a more reliable, energy-efficient system, Don’t Sweat Your AC Installation in Des Moines IA. We offer budget-friendly financing plans to ensure that year-round comfort is affordable for every household in Central Iowa. For more information on the full scope of our services, visit our Complete HVAC Replacement Guide Des Moines. Give us a call today, and let’s get your home ready for the Iowa summer!